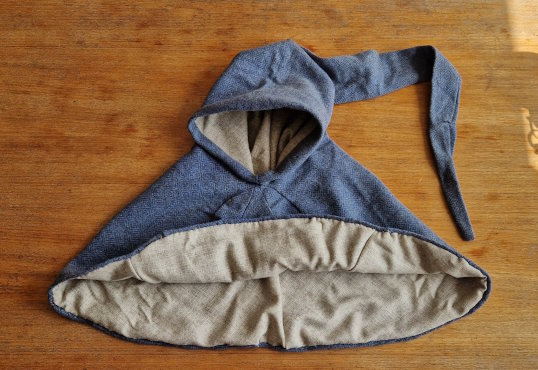
Medieval hood with liripipe
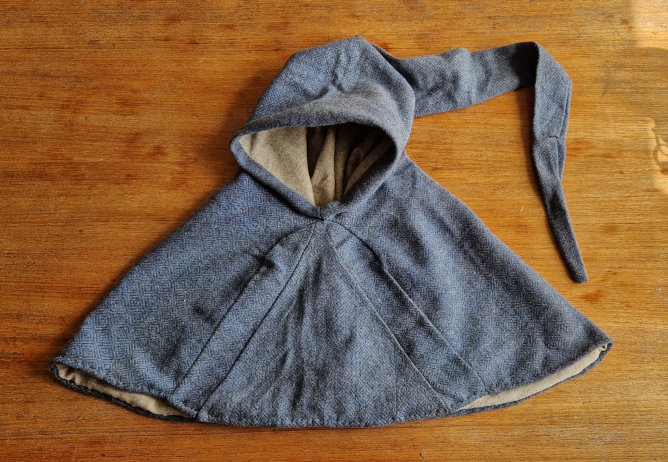
A hood made with another hood as pattern. Unfortunately this didn't turn out all that good since it's ill-fitting around the shoulders. I should have taken more time adjusting to my own body measurements.
The hood liripipe also is a bit to long, making the knot needed for it to be comfortable to wear.
Important measurements for creating a medieval hood
The circumference of the face opening should be the same as the circumference of your head as you would measure for a hat. This enables to wear it as a hat in the flamboyant style of the 14:th-15:th century.
The narrowest part of the neck should also be the same circumference as the hat measurement since you need to get your head through, but it's nice with a tight fit around the neck.
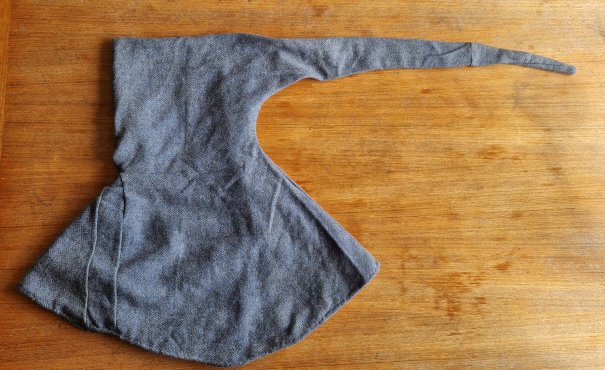
The liripipe should be long enough to be used as a scarf around the neck, but not long enough to be in the way when walking or working. Although the liripipe could be tucked into your belt it still has a tendency to get stuck in things as you pass narrow passages.


I tend to use double folded fabric when cutting the hood. I place the fold of the double fabric at the top of the head piece to avoid having a seam on top of the head.
The basic pattern consist of two mirrored pieces and a front wedge, but for practical reasons the liripipe is often extended due to fabric limitations.
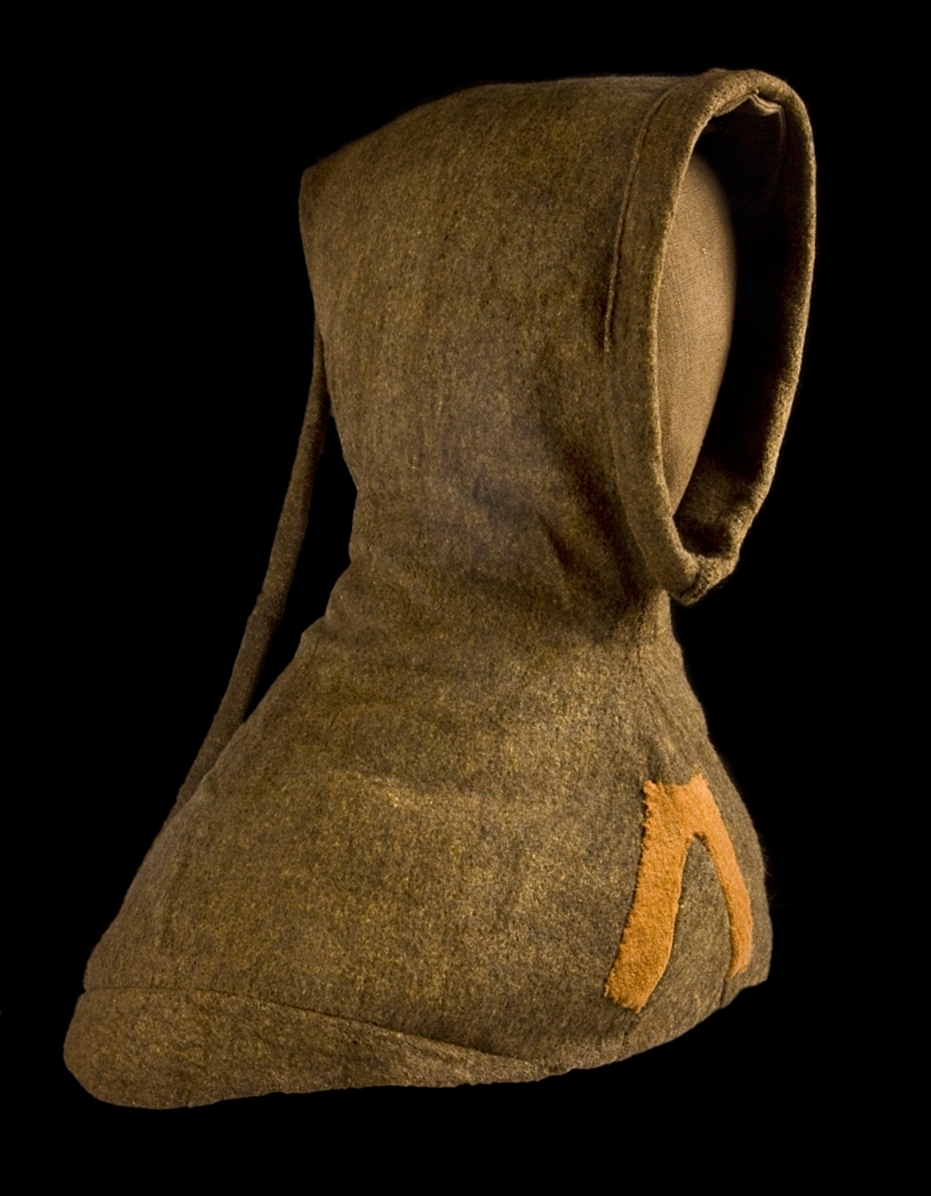
The ill-fitting shoulder issue was solved by inserting extra width to the front wedge. It wasn't meant to be there, but it actually looks quite good and since the hood from the 14:th century Bockstensmannen find from Varberg I feel like I'm in the Bockstensmannen club with this extra wedge parts.
Lining
Almost two years (June 8:th 2024) after the hood was first created (June 15:th 2022) I decided to append a lining fabric to it.
Fabric
At first use it turned out the wind was blowing straight through the hood. When I got back home I planned on making a lining in a tight woven fabric but it wasn't until years later I came around to actually do it.
I had a really soft thin wool fabric that was tightly woven.
A actually bought it for a medieval undertunic but since I got more under tunics than lined hoods a re-planning for the fabric was suitable.
I figured that two wool fabrics probably should change shape very different from eachother over time.
The lining also made the hood look better while worn. The double fabric made a richer appearance and it moved more naturally with body movements.
Cutting the lining fabric
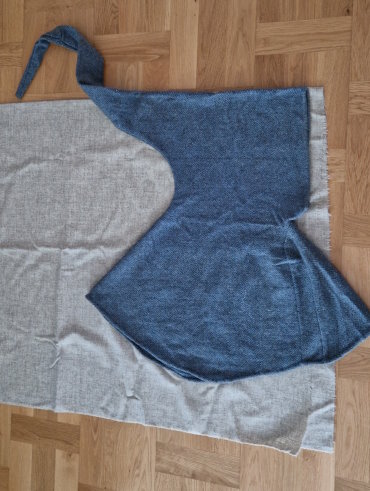
Notice the seam allowance for the face opening and that the triangular filling piece is not needed for the double section.
The fabric is folded at the top of the head piece. This might seem counter-intutive, but it's a really good place for not having a seam.
Seam allowance also was accounted for around each side of the hood exept from the top fold of course.
The last triangular shape of the lining (matching the outer fabric front wedge) was cut from the same lining fabric - but not on folded fabric since it didn't have to be double.
I made the lining only slightly larger(!) than the outer fabric since the inner fabric was thin and could wrinkle without making the folds be seen through the outer fabric. I the inner fabric is to small it will strech and twist the outer fabric instead.
I did not include any liripipe in the lining, but instead ended in a corner. I later put a few invisible stitches in this corner to make the lining fabric smooth against the outer fabric at all times.
Assembly of the lining pieces
After applying zigzag stitch around the edges of the lining pieces I sew them together and tested them out before starting attatching the lining to the hood.
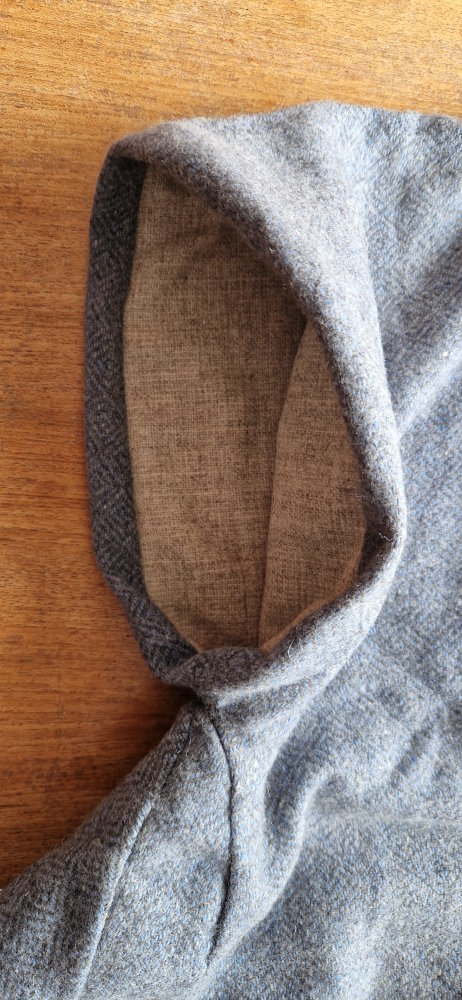
Attaching the lining around the face opening
I fastened the lining fabric a centimeter in the hodd for good looks when worn. I find this looks better both with a raised and lowered hood.
To be able to do this I opened up the existing hem around the face. In hindsight this was probably un-nessesary since I could have attached it in the same manner as the bottom hem, but it looks good.
Attaching lining around the bottom hem
Since I already had a bottom hem on the outer fabric I used this to fasten the lining in. I just folded the lining fabric inward and then sewed it together with the hem of the outer fabric. This was neat since the seam became invisible and it guaranteed that the lining fabric is a centimeter above the bottom line of the hood so it will not be seen when worn.
Lessons learned
- Think twice before sewing a lining.
Right sides together
to avoid redoing stuff. - A hood should always cover for wind. That's the main purpose.
- Be prepared to alter the pattern and make adjustments when working without proper pattern.
- Listen to the more experienced people and ask for advice when in doubt.