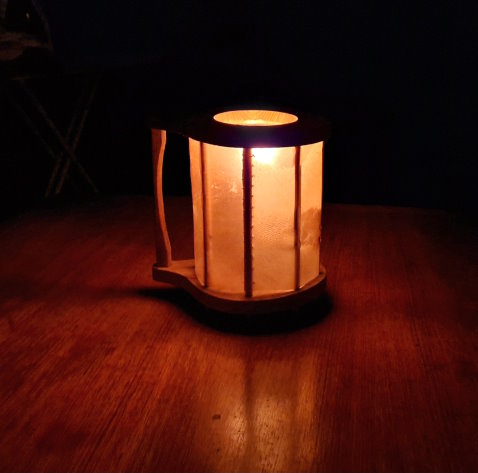
Medieval raw hide lantern
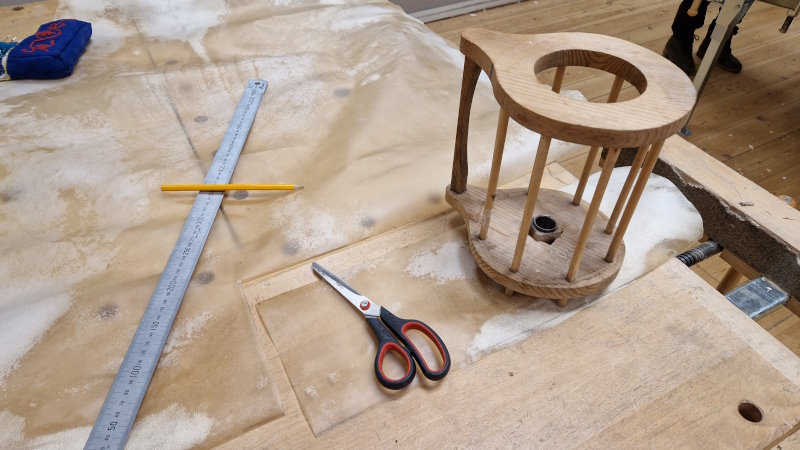
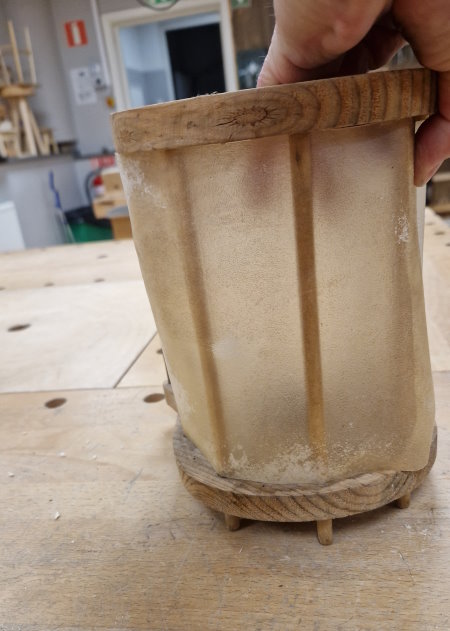
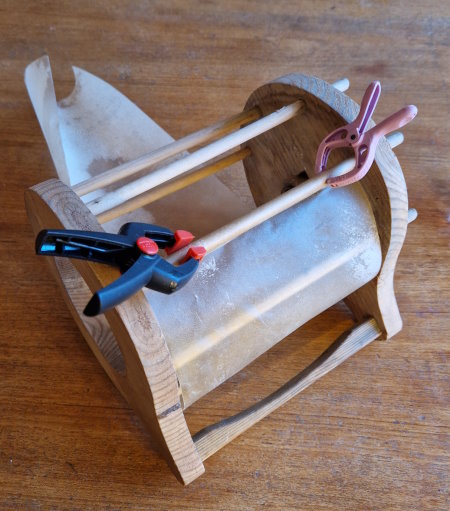
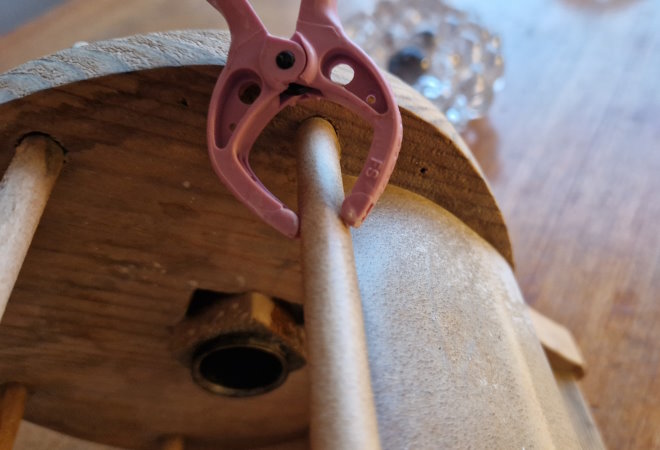
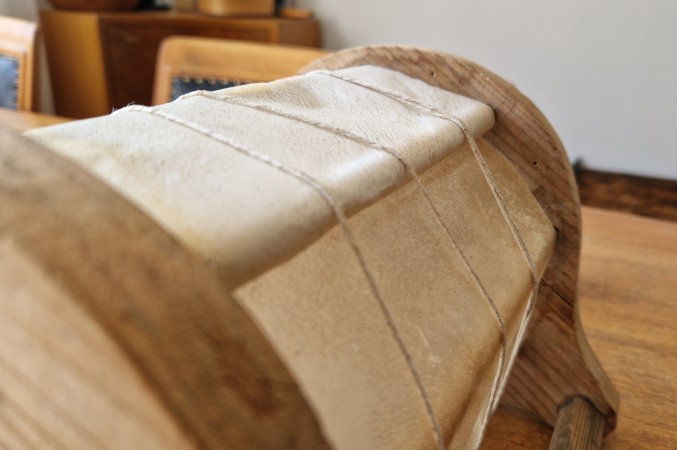
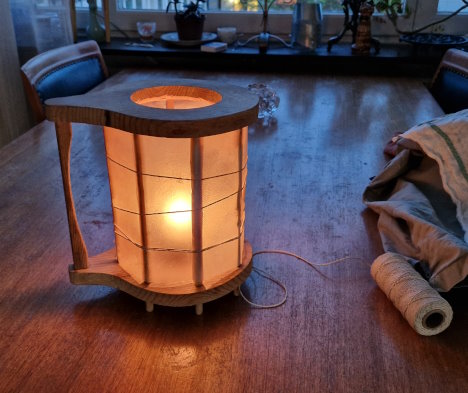
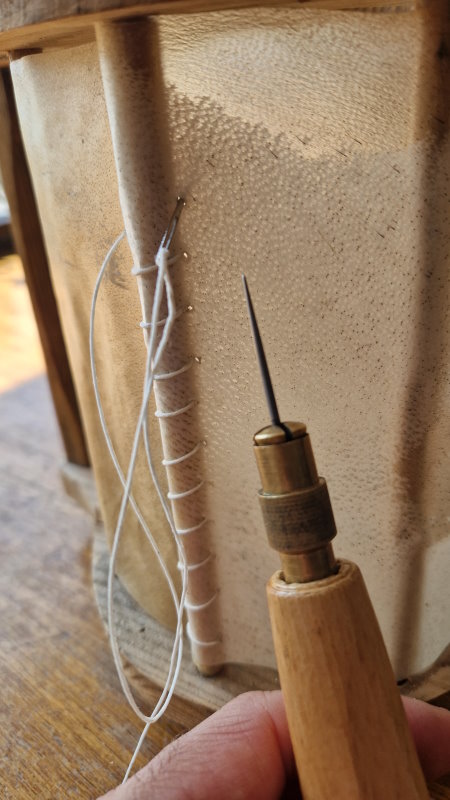
Over winter apparently mice ate the hide of one of the raw hide medieval lanterns. The raw hide serves as wind protection for the inside candle while also giving a really cozy glow to the candle light. This is a good opportunity to describe how the new replacement hide is fastened.
The new hide is cut from a piece of parchment I had laying around from when I created a bunch of shields.
Parchment as a material
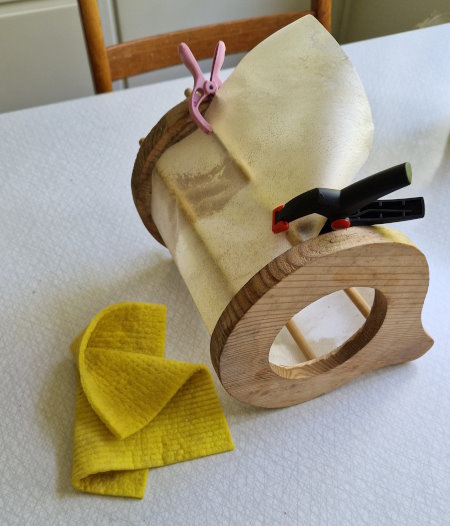
Parchment is a strange material. It's hard and semi-soft at the same time. It's easy to cut, but hard to tear. When working with parchment I always need awls since a regular needle cannot go through it. It's un-cooperative when dry, but if you moist it just a little bit it's very bendy and almost plastic so you may shape it according to your will. Wetting the parchment is best done with a dishcloth or sponge. It doesn't need to get particulary wet at all, but have some patience since the flexibility come from the moist penetrating the hide.
Steps
First I made a few measurements of the lamp. The lamp was old and had been standing outdoors on many weeks already so it was a bit crooked. I found the highest and lowest distance between the top and the bottom and made a pattern to cut out the parchment. I made it a few centimeters longer than the circumference of the lamp to allow for curling it up a bit around one of the wooden pillars.


