Making of medieval style buckler
This is an attempt to describe how to build a medieval buckler.
Shield materials
Medieval shields were generally made from a few joined thin wooden parts from linden/lime tree. We know this from remaining shields from the medieval period. The thickness varies from 8 mm to 16 mm. Wood from linden is light but also quite sturdy. The back side was covered with parchment, linen canvas, or leather glued to the wood. The front side was covered with linen canvas or leather. The linen canvas often seems to have had a layer of gesso and was painted.
For bucklers they seem to have some kind of half-sphere to protect the hand, and a handle or possibly leather strap as a handle.
Constructing a buckler replica
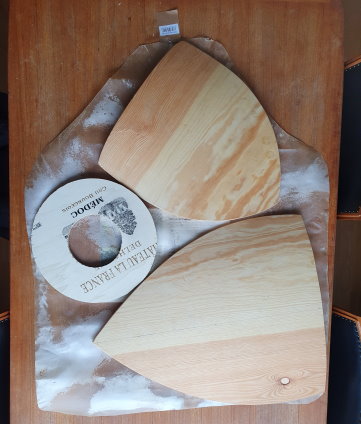
This replica differs in multiple ways from the actual preserved shields. Its core is made from the lid of a wine box for convenience, and the glue used is typical modern wood glue.
Bucklers are small and round, so I used a saw and a drill to cut it out from the wooden sheet. The metal half-sphere was purchased from a friend. However I've made similar before using a wooden stump, a sheet of metal and a heavy rounded hammer.
Gluing parchment on the back of the shield
I've found no resource stating what kind of glue were used on the preserved shields, but the go-to glues in medieval days were hide glue, fish-skin glue, or cheese glue. Here I opted for cheap wooden glue. According to Cennino in his The Book of the Art (chapter 112) cheese glue would be used to glue wood together.
The parchment I used was goat parchment bought from a Danish company, but there are plenty of sources for parchment.
Gluing linen canvas on the front
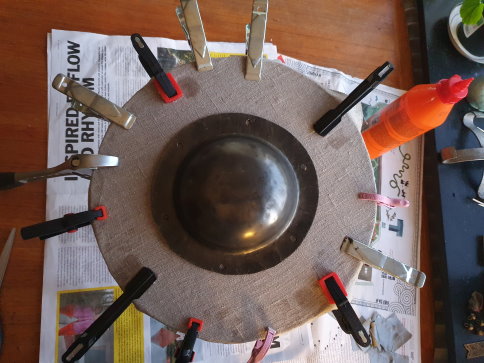
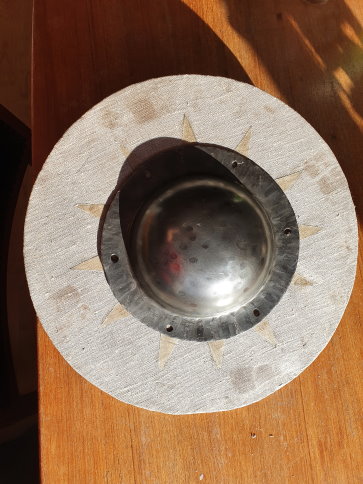
It's probably a matter of taste if you want your rivets to be seen on the front side of the shield. The Kristdala shields mentioned above seem to have been from a shield maker workshop in Kalmar and was made without any straps since they seem to have been quickly produced for funeral use from stock shields. Those have linen canvas on the front without straps, which could be interpreted as visible rivet heads on the front of the shields were ok, but then again, I tried to hide mine under the canvas - meaning I ended up fastening the canvas after the straps and padding.

Pushing out centre parchment (optional)
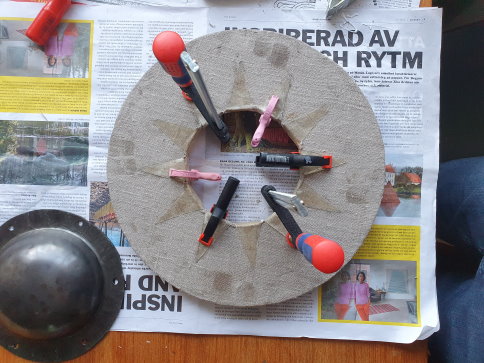
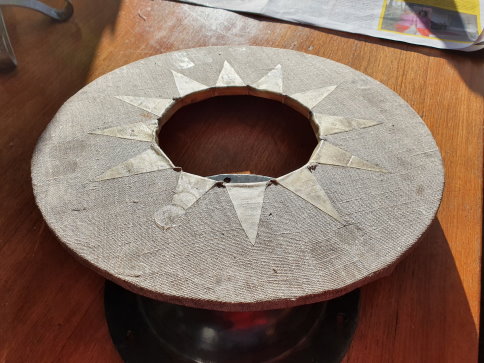
Since I had little trust in the flimsy wooden material of the buckler (the lid of a wine case) I felt the urge to reinforce the material by cutting the centre hole parchment in twelve triangles. I choosed twelve since the heavy metal cup had six holes and I wanted the parchment I pushed up to the front should reinforce under the rivets. Six triangles would make the triangles a bit large, and that would make the hole a bit small so I doubled the number to twelve with some idea to use these pointy bits for decoration of the shield.
Gesso layer
No layer of gesso was applied to my shields. More experienced shield makers told me the shields get quite a lot heavier with gesso (as one could imagine).
Painting the shield
Heraldry is a knowledge field of its own. All analysed shields I've had the pleasure of reading about has been painted with egg tempera. Egg tempera give a really sturdy coating of color with a nice luster.
Egg tempera recepy
Making egg tempera is easy, and if the used jars are really clean it could be stored for a few days in the fridge.


Apart from relevant pigments for color you'll need equal amount (by volume) of:
- Lightly whipped egg (using only the yolk make a glossier paint)
- Linseed oil (either boiled or cold pressed will do)
- Clean cold water
Make an emulsion, like if it would be mayonaise, by mixing the lightly whipped eggs with the oil and then slowly add the water while stiring vigourously. Pour it through a strainer or a piece of cloth to get rid of any chunky bits of the egg. Finish off by adding the color pigments.
For my shield I used rust pigment for red and chalk for white.
handle attachment
For handle I used a piece of ash I found laying around. Looking at pictures of bucklers in manuscripts a lot of them seem to have the same shape of the handle, so I tried making a similar handle.
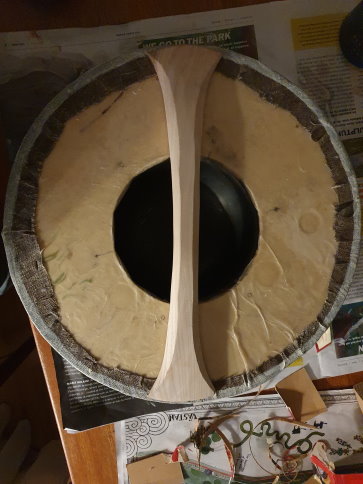
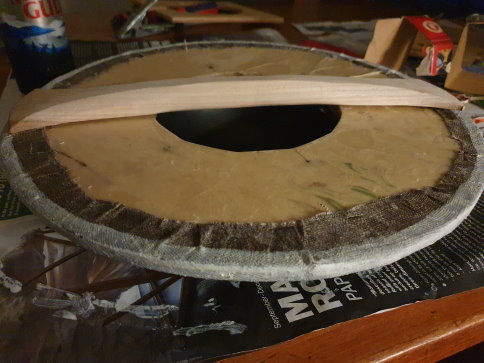
The handle was nailed down as well as glued to the shield.
Nailing the cup
I do have some pictures of the nailing process, but I have not yet trasfered them here.
Thanks
When I started making shields I had great help from the very knowledgeable Johan Käll of Albrechts Bössor.