Making of medieval style shields
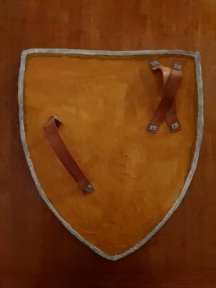
2021-10-16This is both a shallow walk-through of late 14:th century shields, and an attempt to describe how to build replicas.


What we know about medieval shields
There are not a vast number of shields remaining from the medieval era, but there are a lot of shield depictions in manuscripts and other sources of pictures. A majority of those who still remain are found in churches since some European cultures included noblemen to hang their last battle shield above their grave. Sometimes it's obvious the shields found never were worn in battle but are just hanged there for tradition.
Kristdala
In the Kristdala church in Småland, Sweden, two late 14:th century shields reside. They now are in poor condition, but they were described in detail already a few hundred years after they were placed in the church.
Fornvännen article about these shields, in SwedishUppsala domkyrka
In Uppsala church a range of shields were on display but all but a few has been taken down and lost in history.
Fornminnesföreningen article about these shields, in Swedish
Marburg shields
Feel free to google the Marburg shields. They are a few surviving samples of shields form the 14:th century.
Shield materials
Medieval shields are generally made from a few joined thin wooden parts from linden/lime tree. The thickness varies from 8 mm to 16 mm. Wood from linden is light but also quite sturdy. The back side was covered with parchment, linen canvas, or leather glued to the wood. The front side was covered with linen canvas or leather. The linen canvas often seems to have had a layer of gesso and was painted. Often an extra multi-layer linen canvas padding is riveted to the shield, between the arm and the shield, probably for extra protection against protruding arrows since an armoured arm don't benefit from padding for comfort.
Grips are made from leather straps, and shields for daily use often also has an extra longer strap for carrying on the back, or as support around the neck while holding it for long. Hand grips are made from crossing leather straps, and an extra strap by the elbow makes the shield stable.
Constructing a replica
This replica differs in multiple ways from the actual preserved shields. Its base is made from a few sheets of thin plywood for convenience, and the glue used is typical modern wood glue.
Shaping the shield
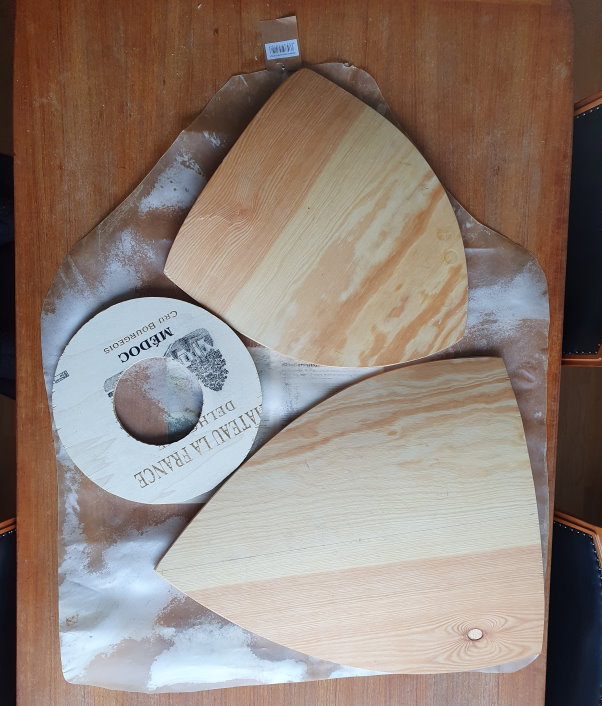
Looking at medieval sources I decided upon a few different shield shapes. First, I outlined these on plywood (and in one case, on the lid of a wooden wine box)

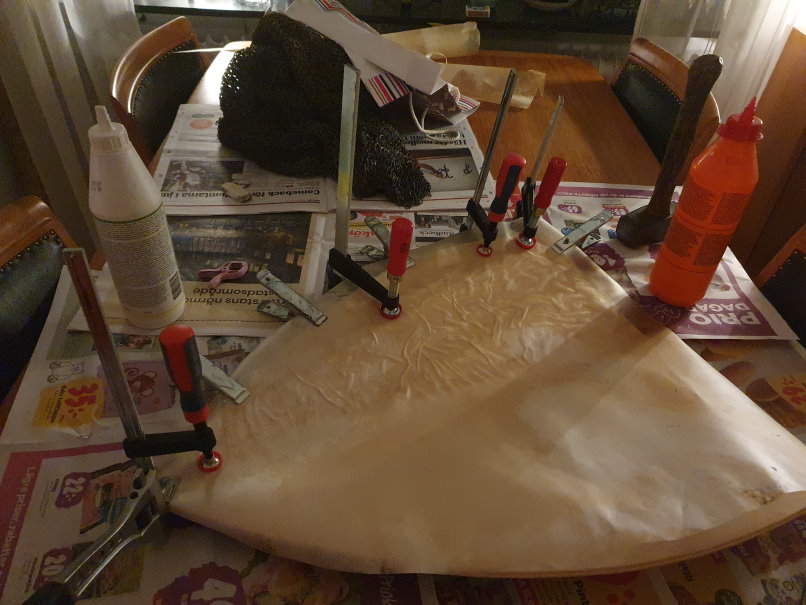
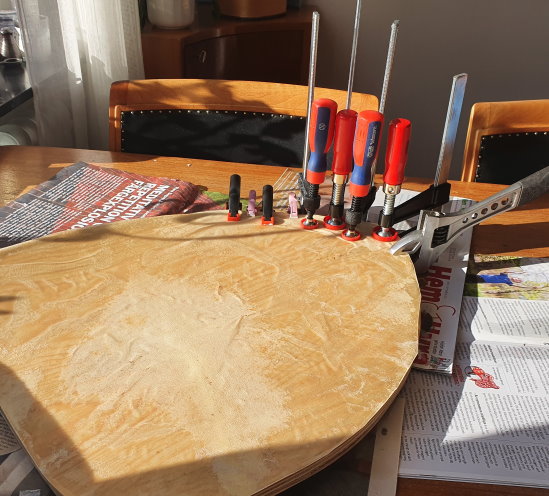
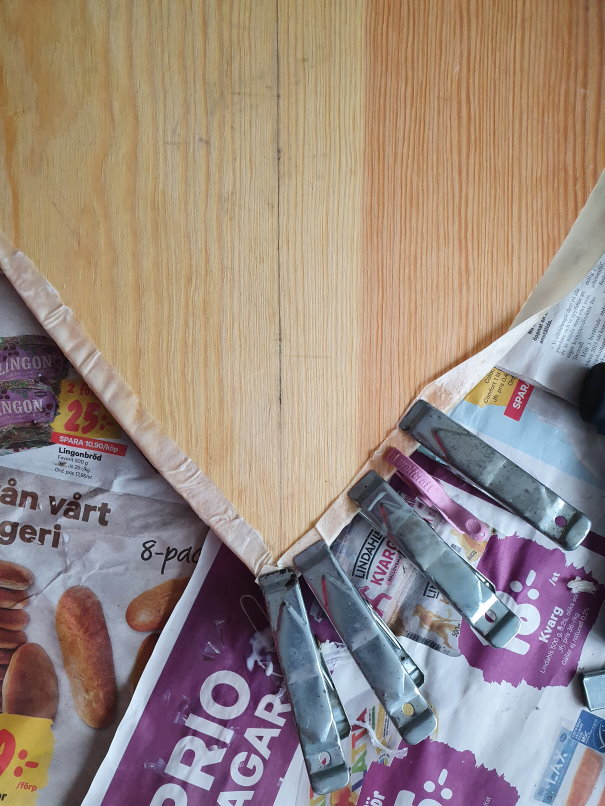
Then I used a few different tools to glue the shapes together:
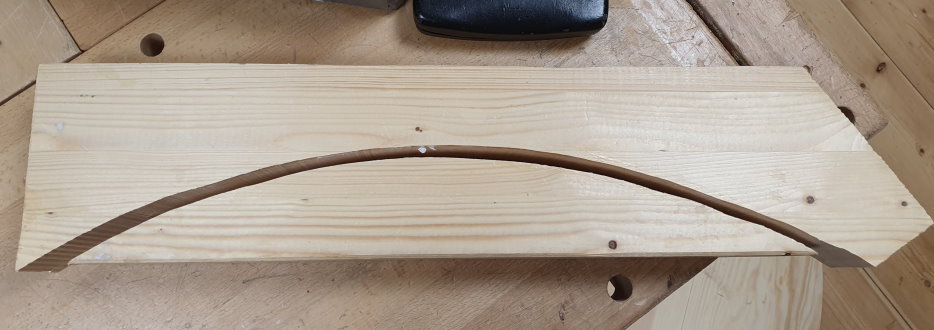
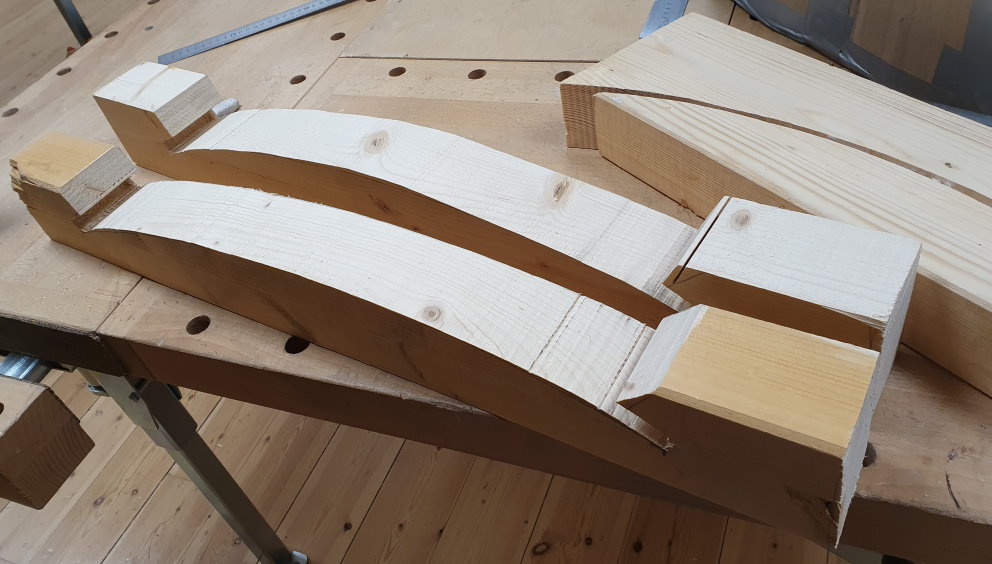
It might be worth noting that you should use at least three layers for gluing in this fashion, since if you use only one the glue ends up in the middle, where there are no forces applied anyway. If you use more than two layers the glue areas are not ending up in the centre, thus being able to help force the material in a permanent bent shape.
Next time I attempt making shields I'm tempted to use ropes/straps and the base of a tree as a base - or gluing wooden bords together sideways as in the originals.
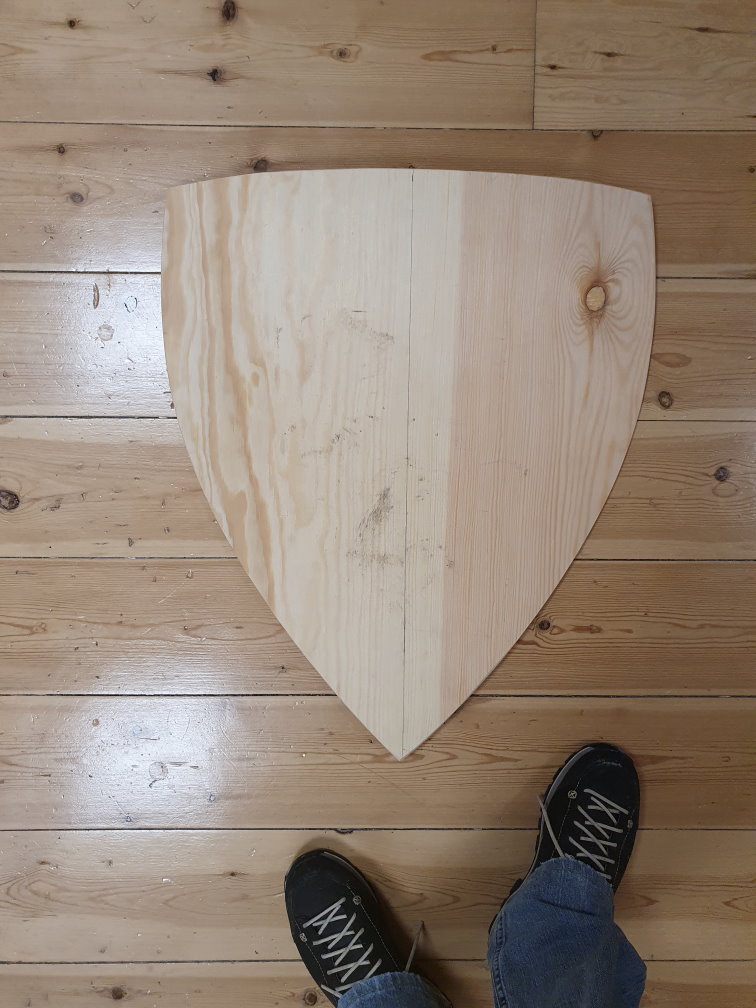

Gluing parchment on the back of the shield
I've found no resource stating what kind of glue were used on the preserved shields, but the go-to glues in medieval days were hide glue, fish-skin glue, or cheese glue. Here I opted for cheap wooden glue. According to Cennino in his The Book of the Art (chapter 112) cheese glue would be used to glue wood together.
The parchment I used was goat parchment bought from a Danish company, but there are plenty of sources for parchment.
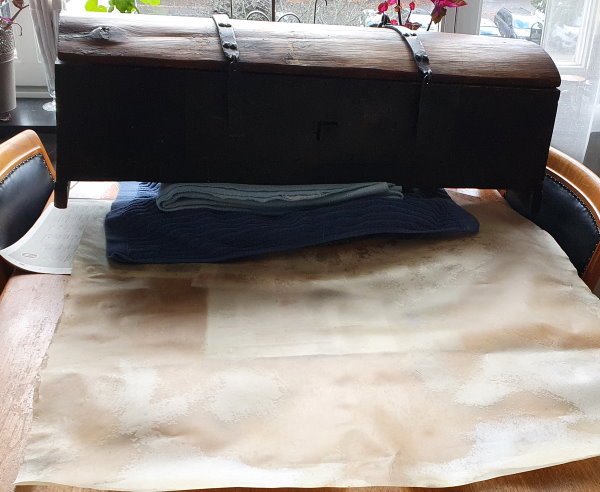
Placing pressure on a curved shield is not very easy. The parchment stretches a bit when wet from glue, and when it dries it tend to pull and create bubbles. Using bags of sand, a chainmail, or similar could help.
Sewing the padding
According to at least one source I looked up the linen used for shields were hardened in linseed oil or vinegar. I've done some experiments with this and soaking the linen in vinegar for a while changes it by making it stiffer - so that's probably a good thing to do.
Note: The use of linen under the arm can be seen on some contemporary depictions, but doesn't seem to be any kind of norm. Apparently it's several layers of linnen held together by stitches like quilting. It would probably be wrong to assume it's padding for comfort since the jupon/aketon/gambesson worn would do that for you. The linen is probably more the medieval equivalent of kevlar - stealing motion energy from any protruding arrows or spears.
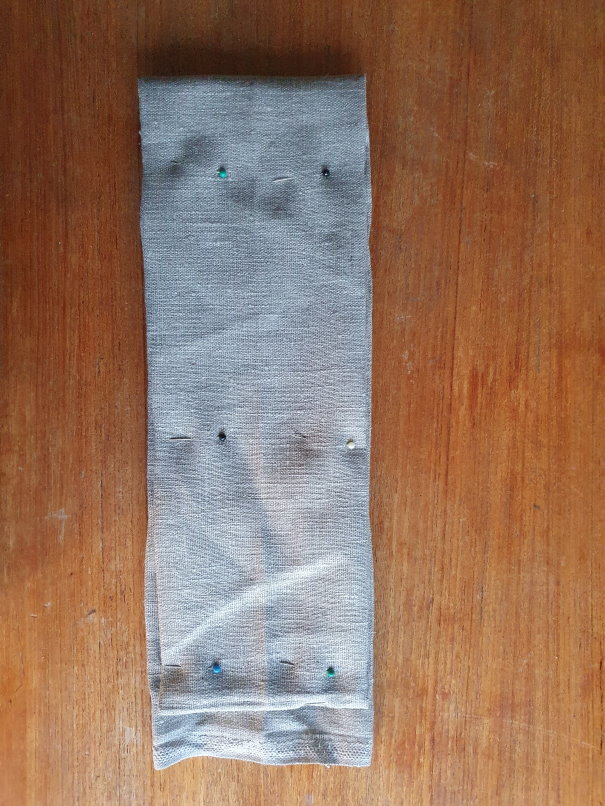
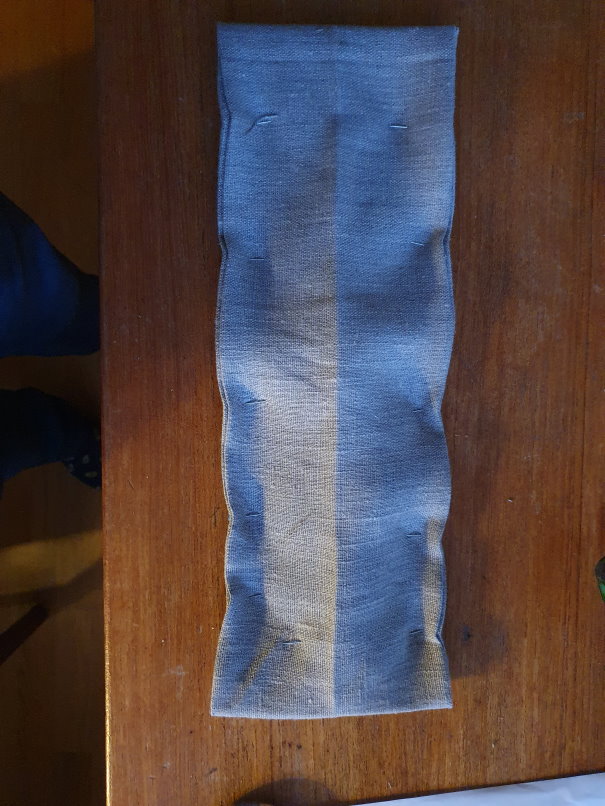
I opted for six layers of linen canvas for the padding. Some sources state up to 15(!) layers. I did not spend any excessive amount of love upon the sewing of these.
Sewing was made with linen thread with the help of modern needles.
Attaching straps and padding
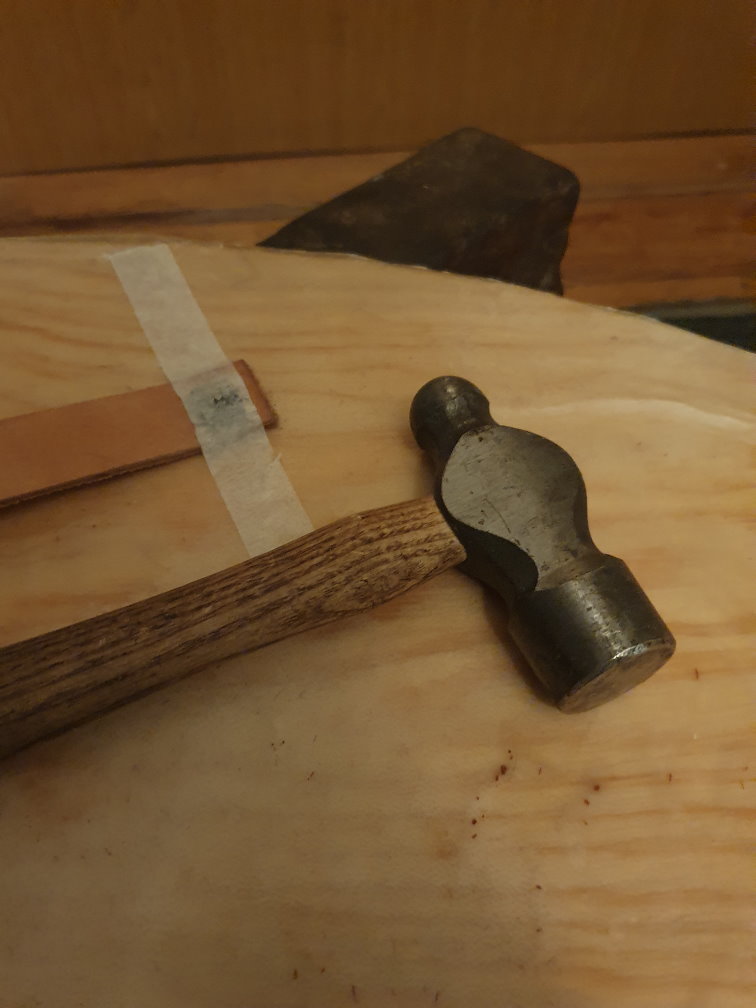
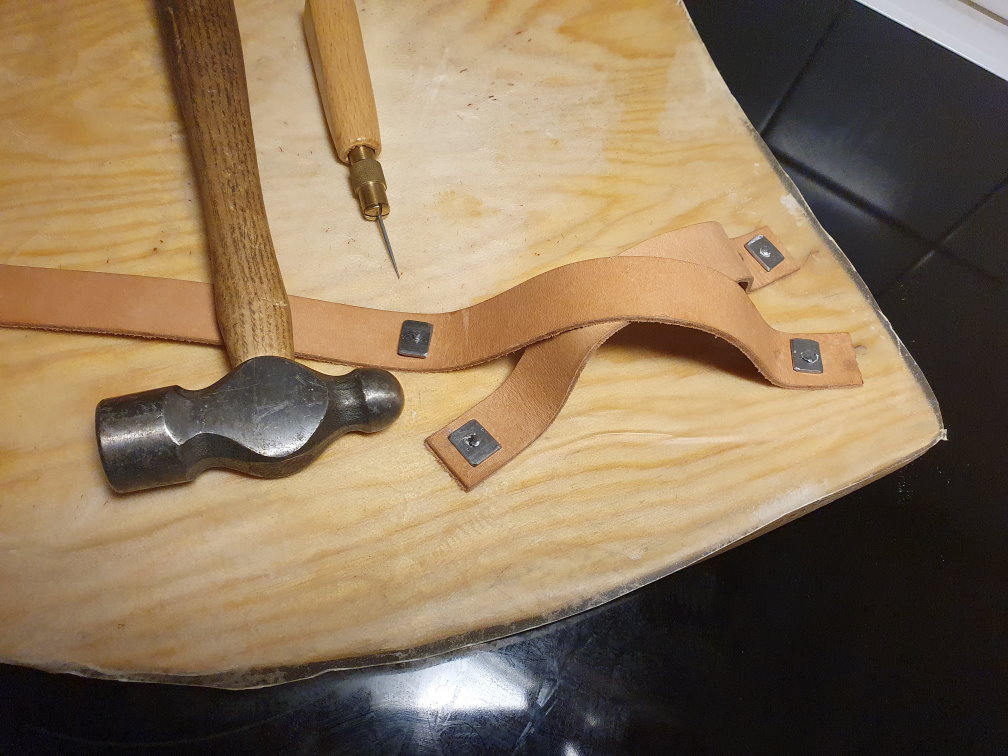
For attaching stuff to the shield rivets are used. Late 14:th century seem to prefer the use of square metal washers, so I made some of that from a piece of steel that I drilled holes in and cut off to rough shapes.
To avoid visible rivet heads on the front of the shield it's better to attach the straps before applying the front side canvas.
Gluing linen canvas on the front
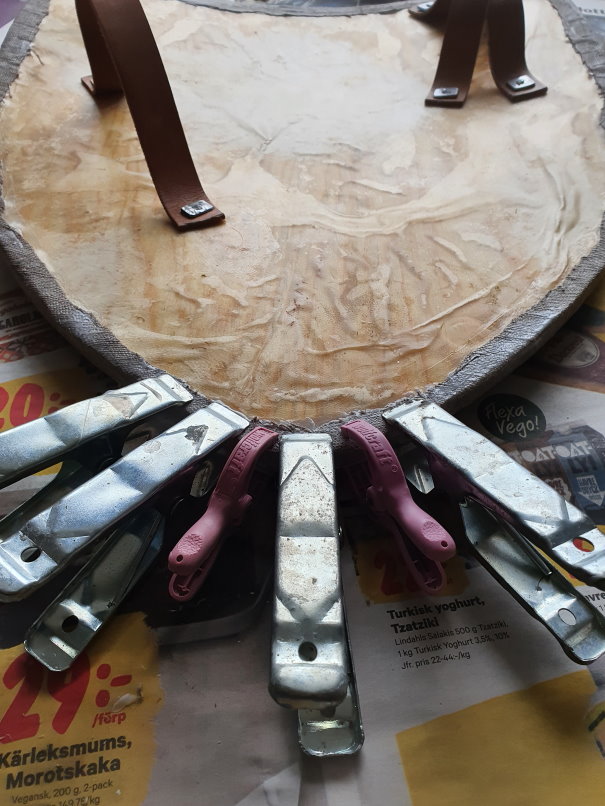
It's probably a matter of taste if you want your rivets to be seen on the front side of the shield. The Kristdala shields mentioned above seem to have been from a shield maker workshop in Kalmar and was made without any straps since they seem to have been quickly produced for funeral use from stock shields. Those have linen canvas on the front without straps, which could be interpreted as visible rivet heads on the front of the shields were ok, but then again, I tried to hide mine under the canvas - meaning I ended up fastening the canvas after the straps and padding.

Gesso layer
No layer of gesso was applied to my shields. More experienced shield makers told me the shields get quite a lot heavier with gesso (as one could imagine).
Painting the shield
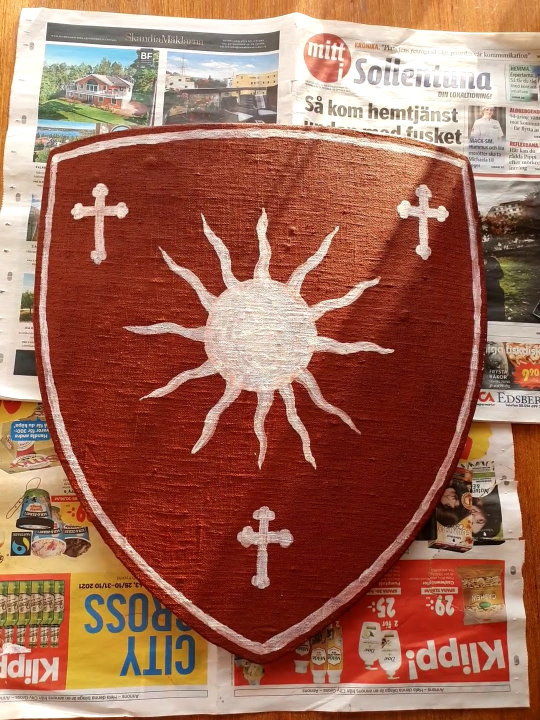
Heraldry is a knowledge field of its own. All analysed shields I've had the pleasure of reading about has been painted with egg tempera. Egg tempera give a really sturdy coating of color with a nice luster.
Egg tempera recepy
Making egg tempera is easy, and if the used jars are really clean it could be stored for a few days in the fridge. If you leave the oil out of the recepy the paint will dry much faster but be less durable. The lindseed-oil ingredient will need light (preferably sunlight) to harden, and a lot of time - possibly weeks.

Apart from relevant pigments for color you'll need equal amount (by volume) of:
- Lightly whipped egg (full eggs, both yolks and whites)
- Linseed oil (either boiled or cold pressed will do)
- Clean cold water
Make an emulsion, like if it would be mayonaise, by mixing the lightly whipped eggs with the oil and then slowly add the water while stiring vigourously. Pour it through a strainer or a piece of cloth to get rid of any chunky bits of the egg. Finish off by adding the color pigments.
For my shield I used rust pigment (iron oxide/red ochre) for red, yellow ochre for yellow, and chalk for white.

What I will do differently in future shields
Wrap parchment around edge for all shields
The edges of the shields take a beating, and if you use a moist cloth on the parchment it's easy to wrap it around the edge of the shield. The parchment protect the shield to a wider extent.
Thinner leather for grip and other straps
The heavy leather belts I used for grip and straps felt sturdy, but while using the shields I realized that thinner leather is quite a lot easier to work with. You can twist and turn thinner leather to suite any situation.
Glueing moist parchment for extra stretch
While fastening the parchment to the back of the shield it got a few wrinkles. Maybe these could be avoided by pre-wetting the parchment a bit. The way I did it the parchment got wet anyway from the glue, and while wet it got bigger - hence creating wrinkles.
More effort in the details
My next shields will be made from proper wood, and with proper 14:th century brass buckles.
More time
With more time for paint to dry I would use lindseed oil in the paint rather than non-oil egg tempera. I assume the lindseed oil type to be more weather resistant.
Thanks
When I started making shields I had great help from the very knowledgeable Johan Käll of Albrechts Bössor.