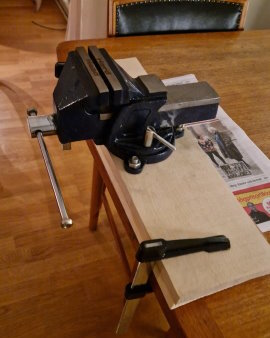
Creating a kitchen table vise
A handy vise is really helpful in many situations. Unfortunately I live in an appartment without workshop. Adjusting a regular vise for use at home is easy, and I decided to make one. This is a very short description of the process - to inspire others.
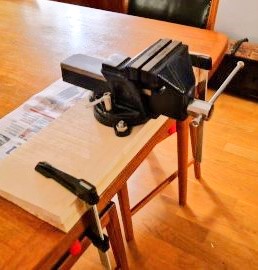
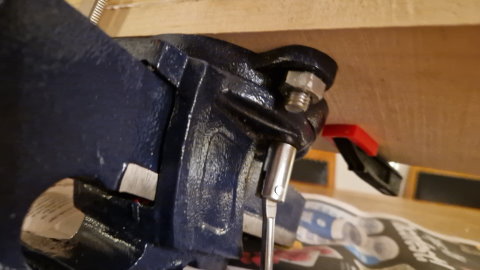
- Get a vise, two pieces of board or plank, some wooden glue, and some bolts. Make sure the length of the screws/bolts are just enough for the vise fastening arrangements, and at least to fasten the nut, with washer, one of the boards - while not protruding so much it peeks out from the other board. If it does, make sure you have another board to address this.
- Mark the pattern of the vise holes in both boards.
- Drill holes wide enough for the bolt shafts in one board, and wider than the washer and nut in the other board.
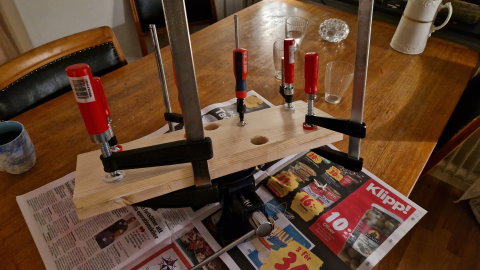
- Glue the boards together with the holes overlapping eachother.
- Use the bolts/screws to fasten the vise to the boards.
- Use clamps to fasten the vise to the kitchen table.
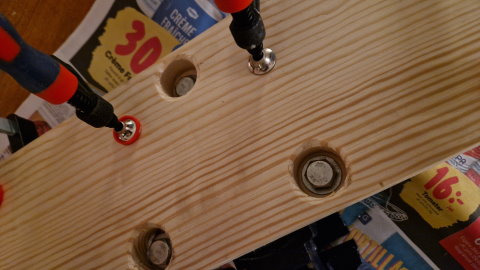
The process in pictures below. I used different types of wood for the two different wooden pieces. The upper board was hardwood, while the lower one was softwood. I intend to use the vise with a piece of cloth or a newspaper under it to save the table from wear and tear.
Using the vise
To use the vise, just use clamps to your regular table. Try using something soft to save the table from anything being stuck under the vise.
