JMeter tutorial
2020-10-11
JMeter is an Open Source tool for load generation. It support multiple technologies, but is probably most used to generate loads over HTTP and HTTPS.
If you are used to the performance testing tools of major vendors the approach of JMeter will strike you as a bit cumbersome, but hey; it's free and competent once you gotten the hang of it.
Fastest approach - recording a HTTP request sequence to multiply:
- Download Apache JMeter, extract the compressed archive, and run jmeter.bat.
- Right-click Test Plan in the left pane to choose Add->Threads (Users)->Thread Group.
- Right-click the new Thread Group and choose Add->Logic controllers->Recording controller.
- Right-click Test Plan in left pane to choose Add->Non-test elements->HTTP(S) Script recorder.
- In the right pane: Make a note of the port number (8888).
- Re-configure your web browser proxy settings to tunnel the communication through the recording proxy (127.0.0.1 port 8888).
- In JMeter, click the HTTP(S) Test Script Recorder and click the Start button.
- Perform your test sequence in the web browser. Note that the resources appear in the Recording Controller in JMeter.
- Click the Stop button in the JMeter recording popup window.
- Set your browser proxy settings back to their initial settings so you don't forget that later.
- In JMeter, click the Thread Group and set your desired number of concurrent users (Number of Threads) and the ramp-up time.
-
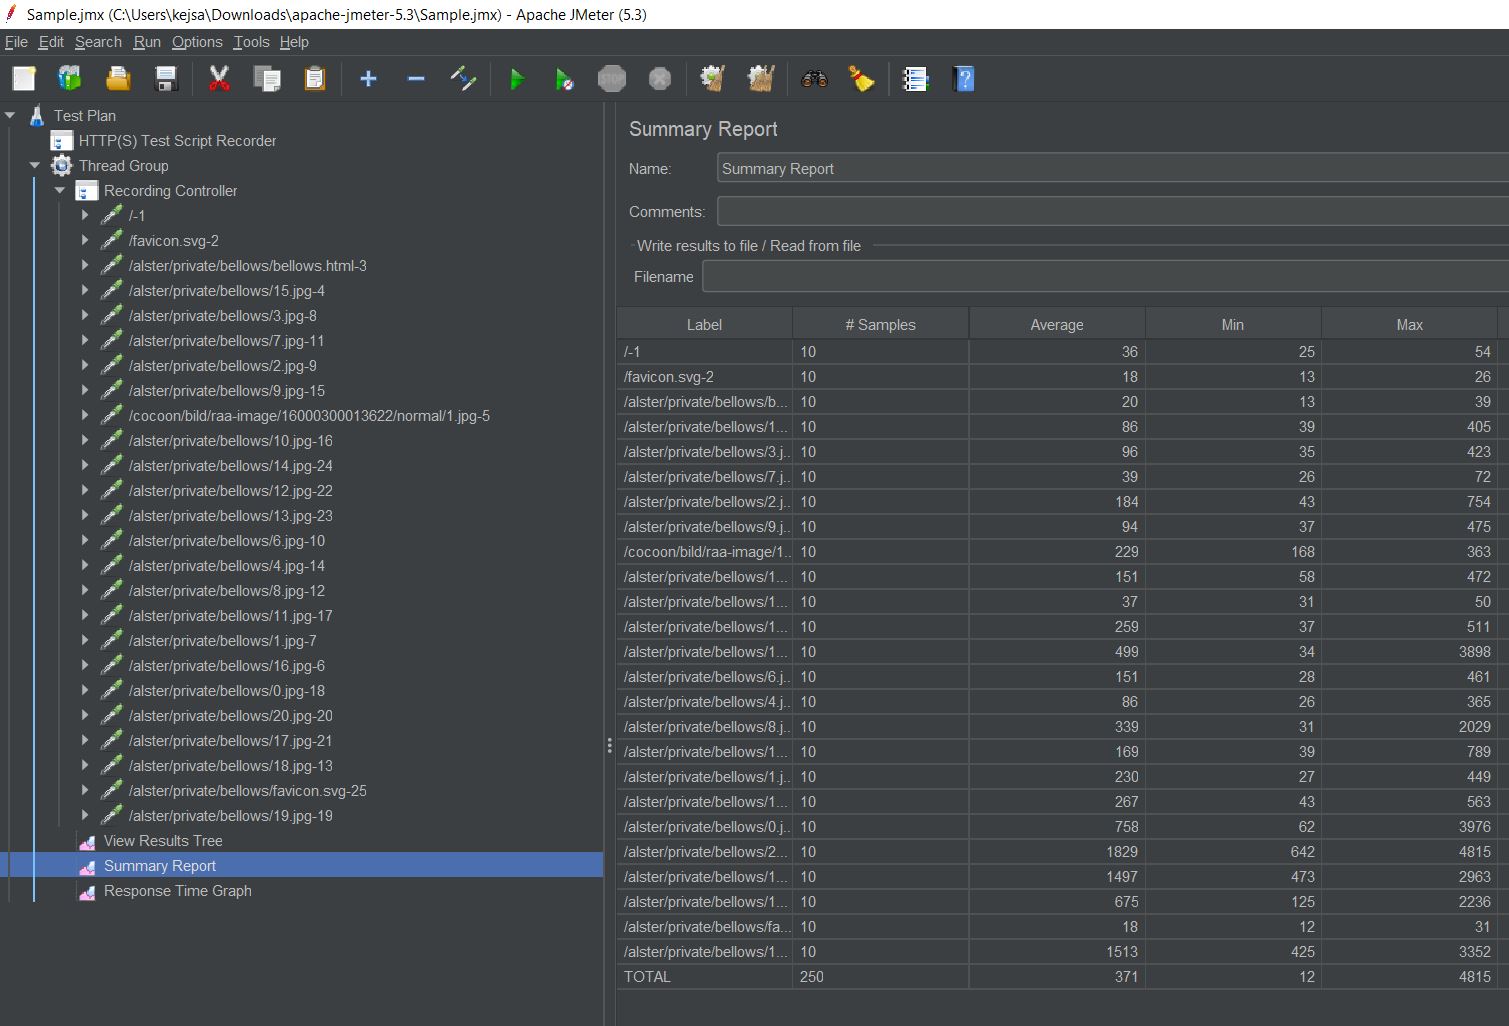
Right-click your Thread Group and add some listeners to view results:
- Add->Listeners->Summary Report
- Add->Listeners->View Results Tree
- Add->Listeners->Response Time Graph
- Save your Test Plan and press the Play button in JMeter ribbon menu to start execute your test.
- Monitor your test while it is running by clicking the different listeners.
Reminders
Think times
Correlations
Parameterizations
Ramp-up
Custom requests