Building a light-weight wooden packing frame
2020-09-23
A lightweight wooden packing frame is both useful and beautiful. I saw the wooden packing frame a friend had made a few decades ago and fell in love with it so much I decided I'd build myself one as well.
To make this frame as light-weight as possible it need to be as strong as possible. Ash wood is normally the strongest wood around where I live (in Sweden). Oak is more resistant to preasure without being dented, but ash has some flex that makes it perfect. It's also a bit lighter than oak. I would suspect elm would work too, but birch, pine, or gruose would be to soft or have short fibres.
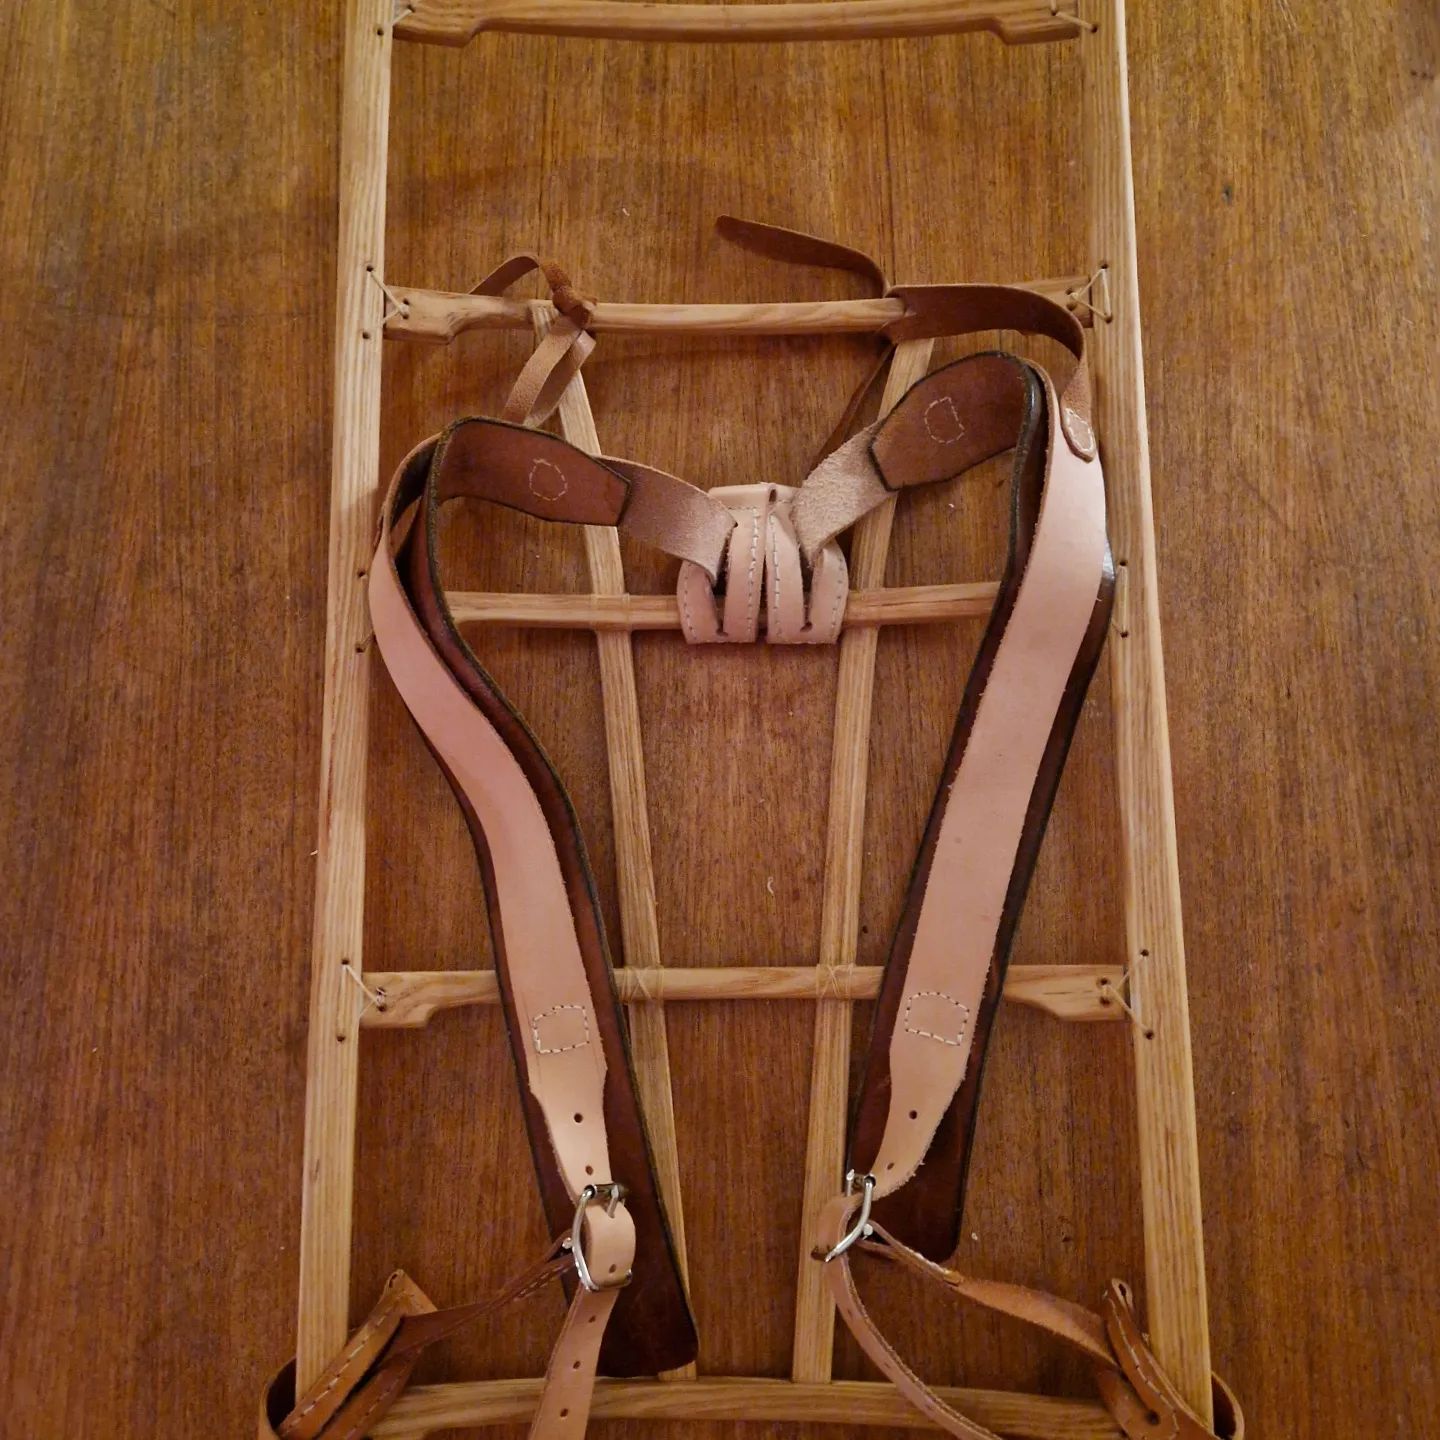
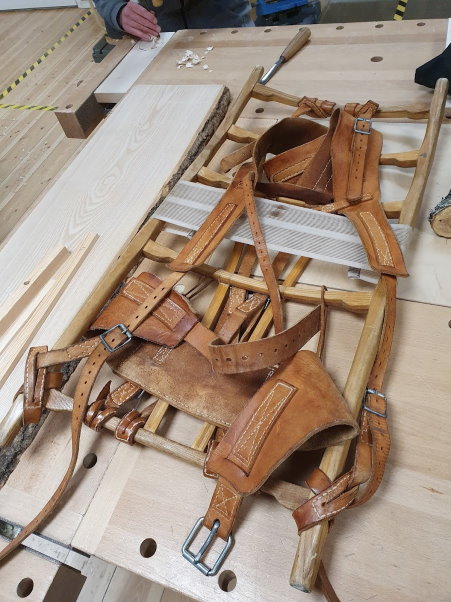
I derived my packing frame from
Material
I started off with a wide plank of ash wood. It was about 120 cm long and 30 cm wide. I shaved it down to about 3cm (a little more than an inch) in thickness.
Creating and using a glue jig
To make the packing frame as light-weight as possible we create a number of really thin pieces of wood that we glue together in a frame. This produces a really strong material, but include the extra effort of creating a frame to glue the material in.
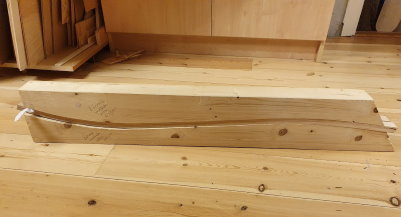
In the carpentry we happened to have a left-over piece of glulam beam. This made a perfect base for the glue frame.
First we need to draw the intended shape on the piece of glulam
beam. Remember to draw the outline of both sides of the material
to get correct distance after sawing it.
I drew the outline of the backpack of my friend, but shortened
it since I'm a bit shorter than he is. I also made the ribs a
bit shorter as well since he said it sometimes got caught up in
small trees while skiing in the mountain forests.
Since the glulam beam was wide enough to fit two pieces together
I made each piece to glue double the intended width so I could
glue two of them at the same time and saw them apart later.
Don't forget to include margin for the sawing blade and some
sanding.
So I used the band saw to separate the pieces. I also used the band saw to create thin pieces of my plank. For the vertical parts of the packing frame I went with double width (and saw margin) to glue both at the same time to get them equal, separating them afterwards.
For each piece in the packing frame we glued three thin slices of wood together. To get the thin slices the band saw was used, and the sanding machine to even out the cut surface to some extent.
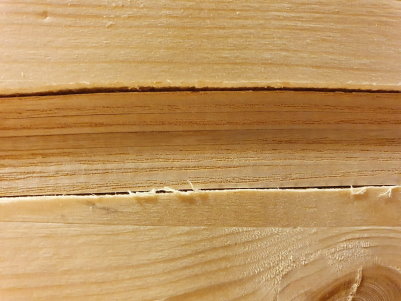
For the ribs of the packing frame a similar purpose-specific jig was created. The horizontal ribs were also made in pair that was sawed to separate halves after the glue had dried.
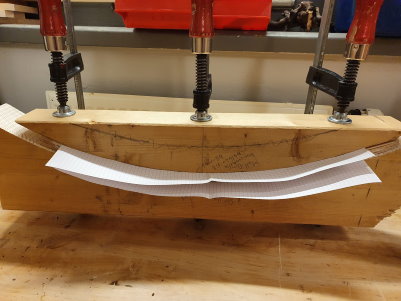
Since excess glue is bound to be pressed out I might as well mention that after it had dried I carved it away with a regular knife and then pushed the wood through the shaving machine to even out the surface.
Using paper between the frame and the pieces you glue together help releasing them afterwards if excess glue would come in the wrong place. It also saves the frame for ease of re-use.
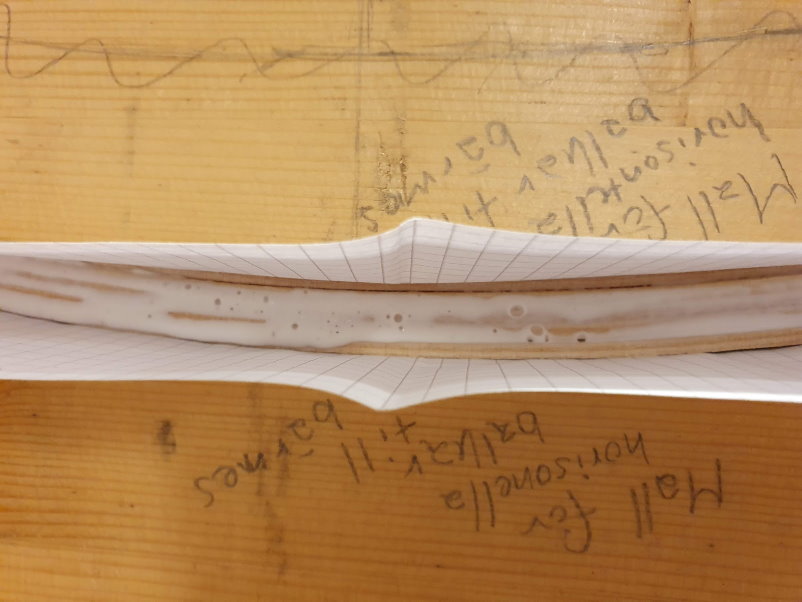
There are different types of wood glue. I intended to use the winter variant since I'm skiing a lot in the winter time, but I had none available at the time so I had to resort to normal wooden glue - hoping the surface treatment will keep any moist away.
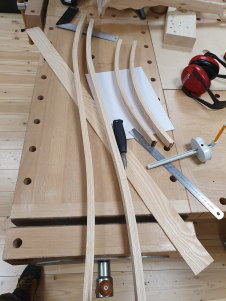
The same glueing jig is used twice for the rib parts to get four pieces.
Shaping the rib pieces
The material with glued together ash wood is really strong, so let's cut away the excess material. I did this with the band saw and a carving knife.
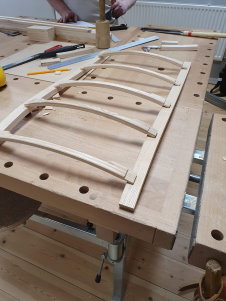
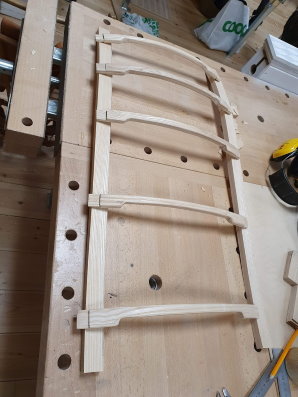
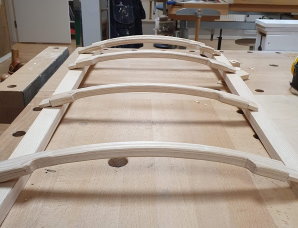
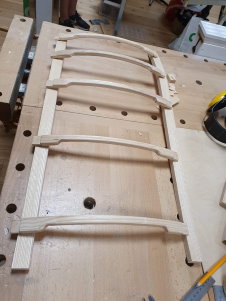
Mark the position of each rib to the pilars of the frame. The shortest rib goes to the top since the shape of the ribs and the pilars make these bend inwards - making this the shortest distance.
We also have to create taps on the ribs - and corresponding holes in the vertical pilars of the frame. Since the rib pieces are curved this require some tampering before it is a tight enough fit.
For the taps of the ribs I used a thin saw (one of those japanese ones that cuts as you pull rather than push) and a knife.
For the holes in the pilars of the frame I used a hand drill and a few chisels of various widths.

Assembly of the frame
Finally, when happy with the fit - it's time to glue it all together.
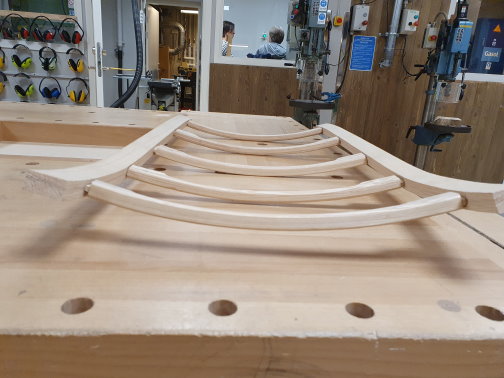
The shape
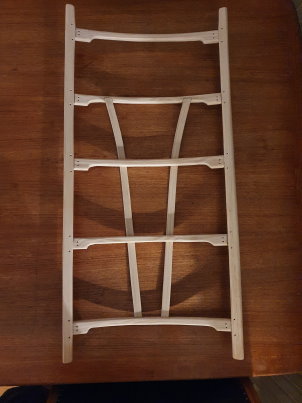
Let's include a few pictures of the shape of the packing frame-
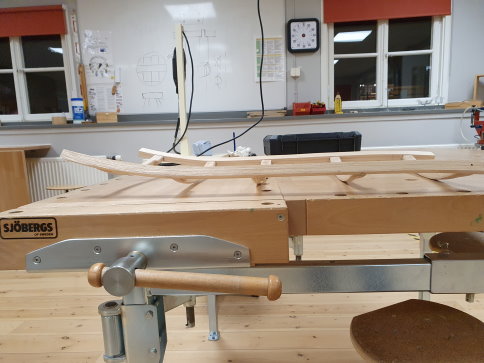
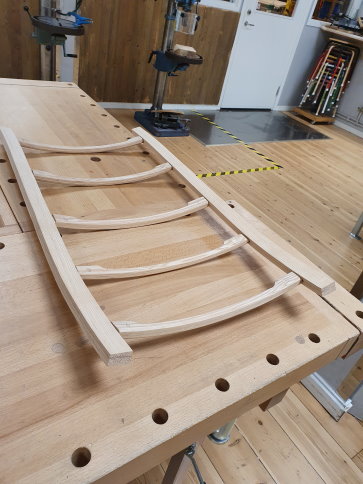
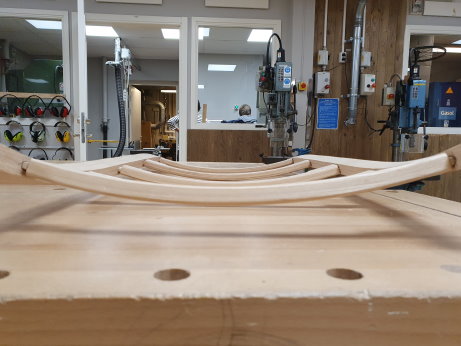
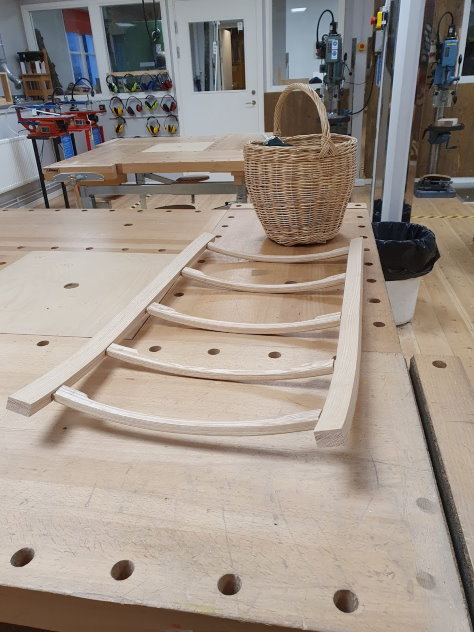
Diagonal support
To make the frame more sturdy parts of the outer vertical parts was cut away and joined into the frame.
Before glueing the frame together, make sure to cut away two thin pieces from the vertical pieces. These will be used as support to strengthen the frame.
(For instructions on how I weaved the basket in the picture, look here, in Swedish though...)
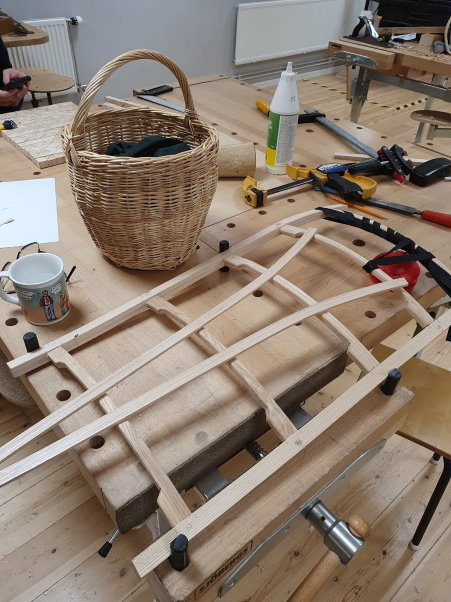
In the picture above the support pieces that was cut away from the vertical parts of the frame are layed out on the drying frame without yet being fastened.
To get preassure for the glueing I used the carpentry workbech and the band of a frame clamp, as can be seen in the picture above.
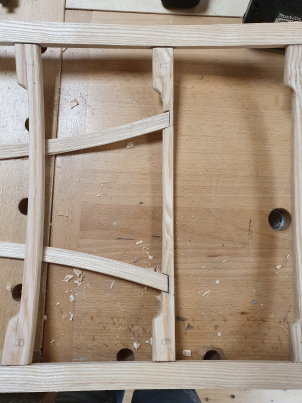
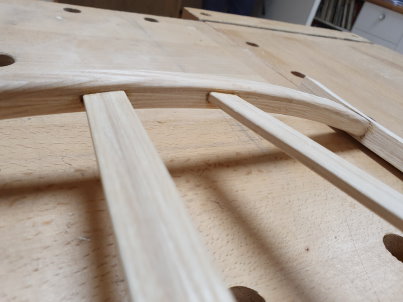
When all pieces were assembled it was time for sanding. First with knife and file, then with sand paper 120, and last with sand paper 240.
Oiling the points
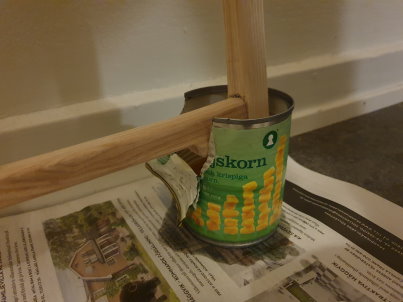
Since linseed oil takes time to harden, and I was planning to be away for a while I heated the oil to about 130 degrees Celsius and placed the bottom points of the packing frame in there for a few dags. This allows for the oil to penetrate deeper into the points of the wood. One can assume the bottom points of the packing frame will be put into damp moss or dirt from time to time, so these are especially important to get proper protection for.
Tying the joints
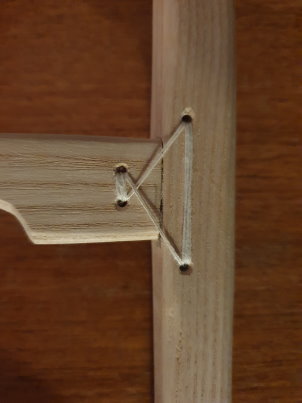
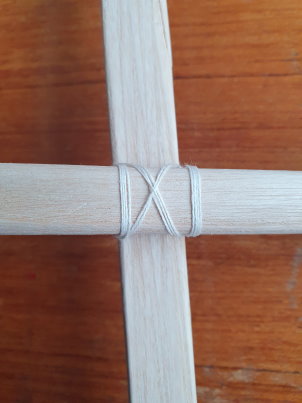
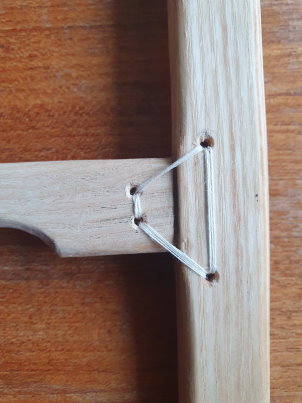
Ok, the frame probably would have been sturdy enough anyway, but for decoration - to make it look more worked upon - some tying of the joints were introduced.
For this linen thread was used since I wanted it to withstand the linseed oil I was planning to use for moist protection for the wood later on.
There are a few different tying techniques.
- In the top and bottom parts a trapezoid pattern was used. This give a really powerful impression.
- For the middle "rib" joints a cross pattern was used. This looks a bit more intricate.
- For where the diagonal support meet the ribs a more scout-like knot was used.
Oiling the rest of the frame
For the whole frame, including the thread, heated linseed oil was used.
Finishing off the wood-work
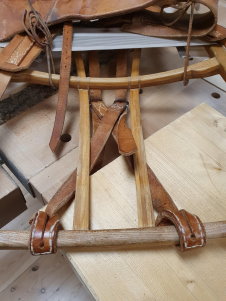
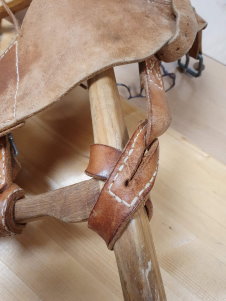
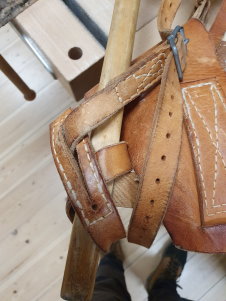
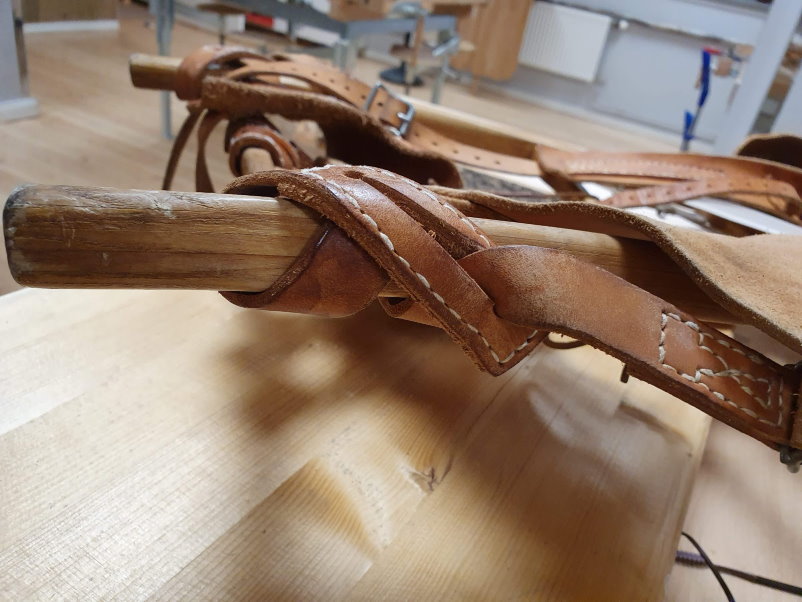
Leather-works
Note the non-leather light-weight piece included for back support.
